
 Since 2012, I have been in love with the art of visualization. That’s when I discovered The Secret and I watched it over and over again. There were some things that I wanted to see happen in my very own life and I had come to a point where I think I was just staring at a tall brick wall and didn’t know how to move forward. So, I decided that I would try to do a few things different in terms of creating goals that really could be achieved and adding some vision to them. I really needed to see something different.
[bctt tweet=”The only thing worse than being blind is having sight but no vision.-Helen Keller” username=”@tishbullard”]Helen Keller stated that “The only thing worse than being blind is having sight but no vision.
Enter my desire and admiration of the vision board. Over the years, I have made several of these and encouraged many women (and men) to join in and create theirs. I’ve hosted vision board parties for small groups and I absolutely love the A-has that come from these sessions. For the intimate vision board parties, I create worksheets that the attendees complete before placing any images onto their boards such as my Goal Designing Workbook. The questions require thought and really gets the attendee to think about their desires and what will truly make them happy within the year or over a period of time.
[bctt tweet=”On average, 60% of goals get completed within the first year of using a vision board.” username=”tishbullard”]
If you are considering creating a vision board, I have included a few tips below for you to get started to visualizing your way to success.
1. Take Time to Think About What You Want. Decide on the areas that you want to see improvement in your life. This can be career, family, relationships, health, spirituality, finance, you name it. Make a list for each category that you want to focus on for this year or over a course of a few years.
2. Focus on Your Own Goals and Desires. Sit and think about your own goals and desires. Call this a selfish moment, but you deserve it. Define what success means to YOU. And, let this fuel your goal setting session before you begin to add visualization to it.
3. Create Your Board So That It Will Make You Happy. What’s the point in creating something that will make you feel sad, angry, or disappointed? So, be intentional about what you will add to your board so that each time you look at it, you get happy about what’s on the board that will become a part of your life.
4. Be Flexible. Life happens. And, we are subject to change some desires. And, it is perfectly okay to do so. If you have something on your board that no longer excites you, it’s okay to remove it. Be open to seek what else is inspiring you and add that to your board.
5. Don’t Create Your Vision Board and Leave It For Dust. The momentum can really be high when you are adding your imagery to your board. But, don’t let the “high” stop there, make a habit of viewing your board daily by placing it in front of your desk, by your nightstand, or in your closet. Let your vision board be a part of your daily life.
[bctt tweet=”Girlfriends, you have to see something before you can have something. ” username=”@tishbullard”]
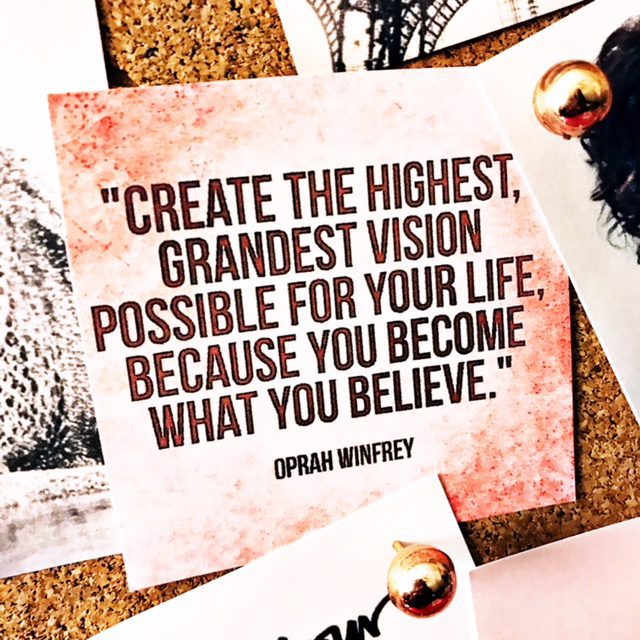
Keep images before your eyes of what you want to become. That’s exactly what a vision board does to help us. It brings about clarity on your dreams, goals, and desires.
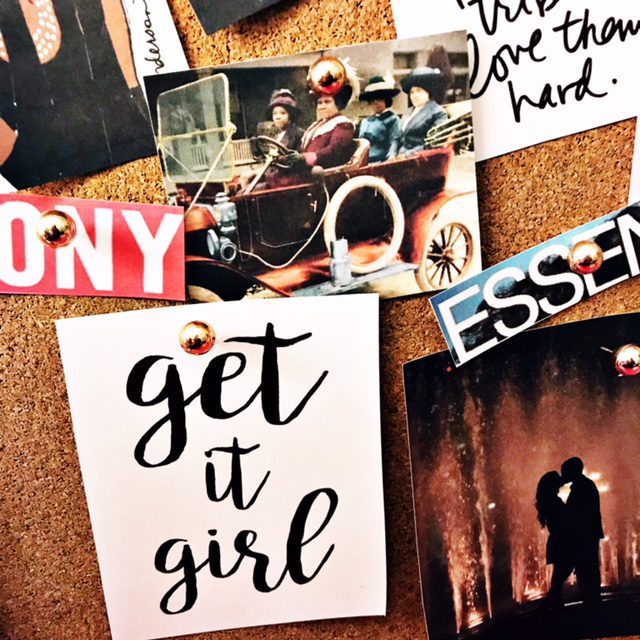
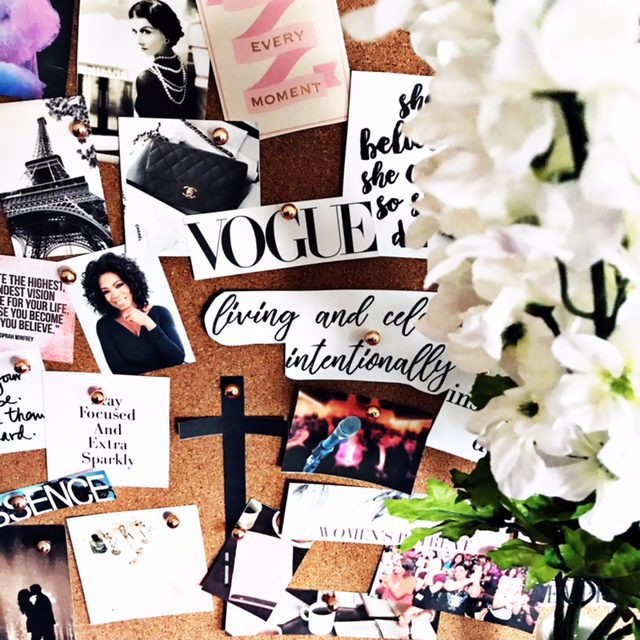
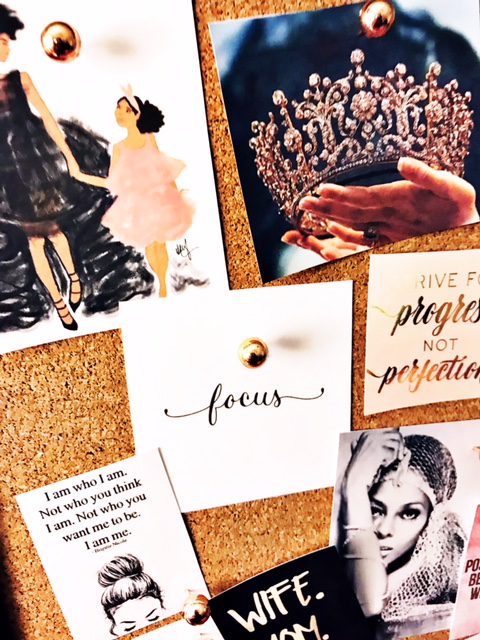
6. Find Inspiring Images. You can find images on Pinterest, magazines, creating your own, using words, photos of you that make you smile and anything else that will make you happy. It may even be a piece of fabric, a broadway show ticket, a receipt, you name it. Nothing is off limits for your vision board.
7. Set the Atmosphere for Inspiration and Creativity. Play soft or upbeat music of your choice, pour a glass of something sweet and get to work!
There are a few ways you can create a board that works for you:
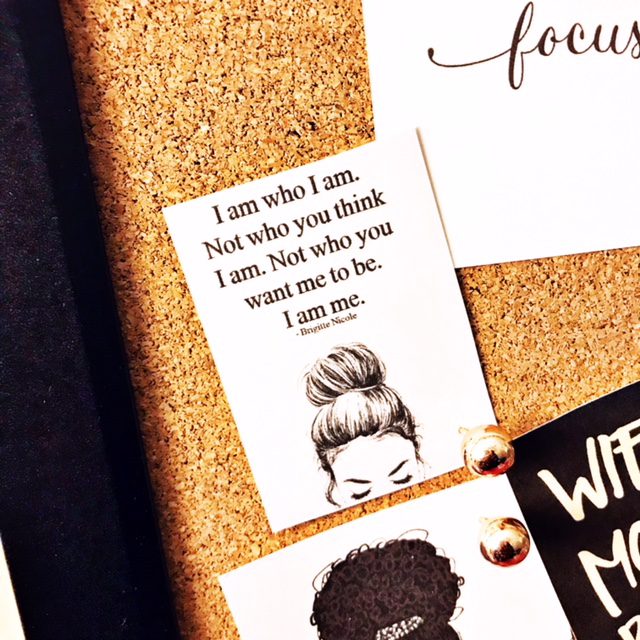
- Cork Board: You can add your images using push pins and have the ability to remove or add images as you please.
- Binder: You can use a binder if you choose a more mobile option. You can use dividers to separate the various areas that you are planning to manifest blessings. You can easily add or replace images as you see fit.
- Frames: I used an 8×10 frame with a vision board in it for the longest and placed it on my desk of my “Ideal Client”. You can do something similar of any area of your life, too.
- Foam Poster Board: This is probably one of the traditional vision board methods. To add your images, you can use a glue stick if you want a more permanent option for your images or decorative tape, such as washi. This allows for you to easily update your board.
- Push Pins
- Scissors
- Washi Tape
I hope these tips help you get started with creating your vision board for this year. I’d love to see your vision board that you create. Please tag me @tishbullard so I can cheer you on to achieve your goals. Have you already created your vision board?
xo,
Tish


